|
We grow a lot of tomatoes. I mean A LOT! We have tried all kinds of trellis, cages, bamboo stakes, and more to keep our prized heirloom tomato plants from laying on the dirt. Let's just say that it has ended badly more times than I would like to admit. Jump to planning our summer garden. Again we are facing the age old question of how to keep our maters off the ground. Enter John Moody at the Mother Earth News Fair. He blew my mind with an ingenious technique to build your own tomato cages for the same or less money that the prefab ones that will last for years and withstand even the heaviest of vines. Ours come to $6.10 each which way cheaper and better than anything would find in stores. A roll of concrete reinforcing fencing makes about 24 cages. We made 70 total for a bunch of new plants and projects we have started. So here’s how we did it: Step one: Buy a roll or more of concrete reinforcing fencing. This comes in big heavy rolls at your building supply store. It has 6" by 6" square holes. Don't worry if it's rusted. It won't matter. This will run you about $140. I know it's a larger investment up front but it will be used year after year. You will also need some heavy duty bolt cutters. The stronger the better. I bought 24" cutters because of my small frame and I knew my son would want to help. Step two: Snip off the bottom wire leaving prongs that will stick in the soil. 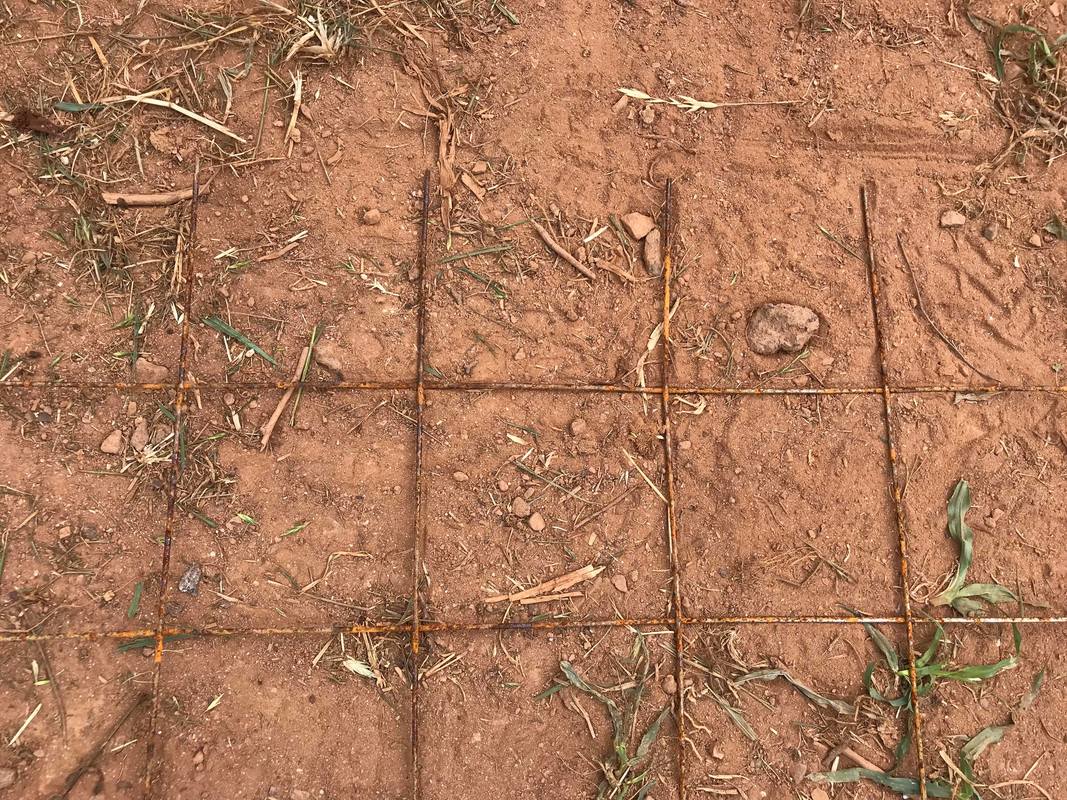 Step three: Decide how big around you want your cages. We decided that a 6 foot diameter was best for us but you determine for yourself what size works in your beds. Cut to length. No need to get out your tape measure. Remember when I said each square is 6 inches. We just counted 12 squares for a 6 foot section and and snipped it. 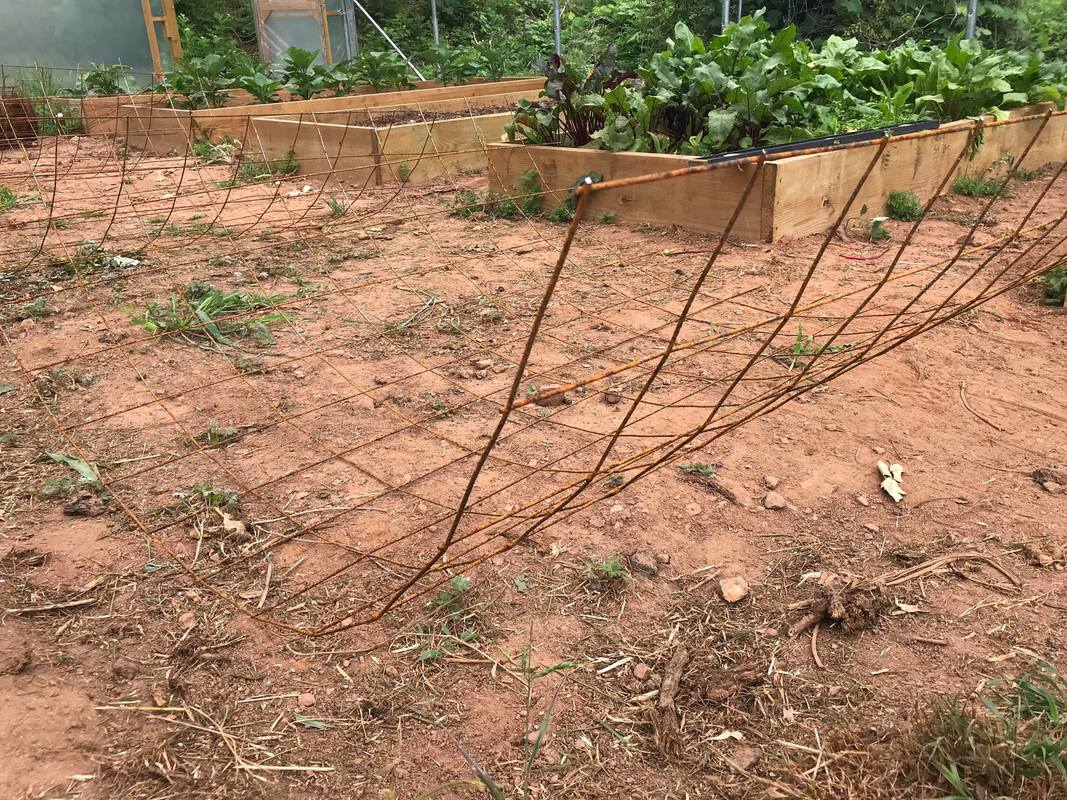 Step four: And this is the tricky part. After some trial and error, Farmer Vasek figured out a quick way to get it connected. I would recommend using gloves but he doesn't always listen to my recommendations. You wrap the pronged end around the straight side two or three times then bend it around the cross wire until it takes the shape. Move it under the cross wire. Confused? Watch the video below! Step five: Place pronged end down around tomato plants or other vining plant. You can stake it more solidly in the ground with a t-post or rebar if you'd like or tie them together if they are placed close enough. Here's ours in our 4' by 10' beds. 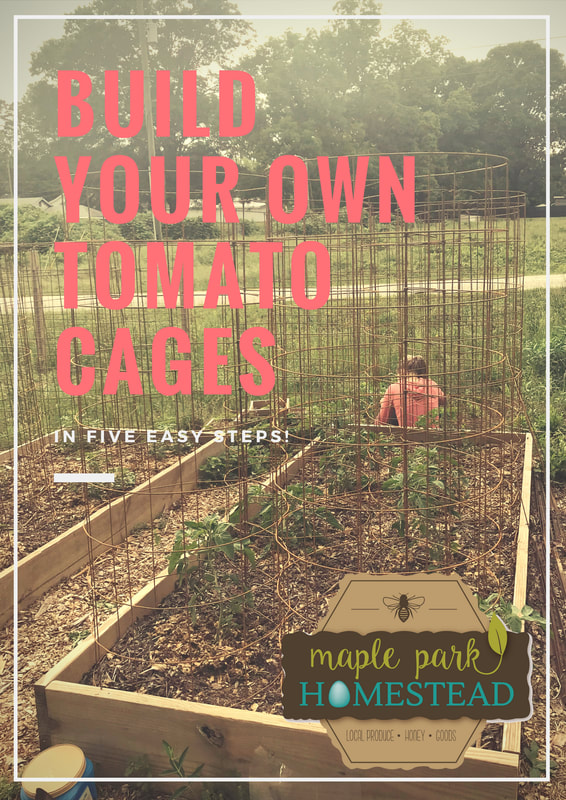 We will use what I call tomato tape to tie the branches up as it grows. We will also pull of the suckers to encourage the plant to put energy into the tomatoes and not building more branches. I'm sure this will make your summer season far more productive.
Dedicated to fur, feathers, greens, and wings,
0 Comments
Leave a Reply. |
Vasek and BrookeWe are thrilled to share our homesteading successes and struggles with you. There's a steep learning curve here and we are ready for the challenges. Archives
April 2019
Categories |
 RSS Feed
