|
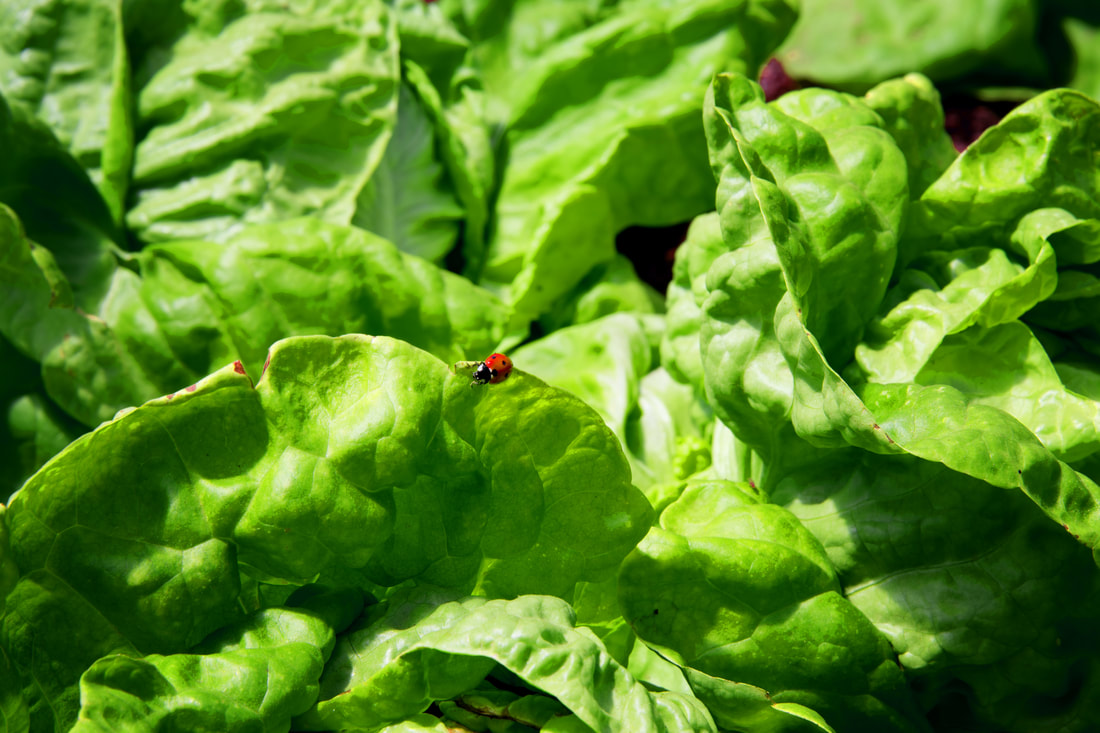
We grow a lot of tomatoes. I mean A LOT! We have tried all kinds of trellis, cages, bamboo stakes, and more to keep our prized heirloom tomato plants from laying on the dirt. Let's just say that it has ended badly more times than I would like to admit. Jump to planning our summer garden. Again we are facing the age old question of how to keep our maters off the ground. Enter John Moody at the Mother Earth News Fair. He blew my mind with an ingenious technique to build your own tomato cages for the same or less money that the prefab ones that will last for years and withstand even the heaviest of vines. Ours come to $6.10 each which way cheaper and better than anything would find in stores. A roll of concrete reinforcing fencing makes about 24 cages. We made 70 total for a bunch of new plants and projects we have started. So here’s how we did it: Step one: Buy a roll or more of concrete reinforcing fencing. This comes in big heavy rolls at your building supply store. It has 6" by 6" square holes. Don't worry if it's rusted. It won't matter. This will run you about $140. I know it's a larger investment up front but it will be used year after year. You will also need some heavy duty bolt cutters. The stronger the better. I bought 24" cutters because of my small frame and I knew my son would want to help. Step two: Snip off the bottom wire leaving prongs that will stick in the soil. 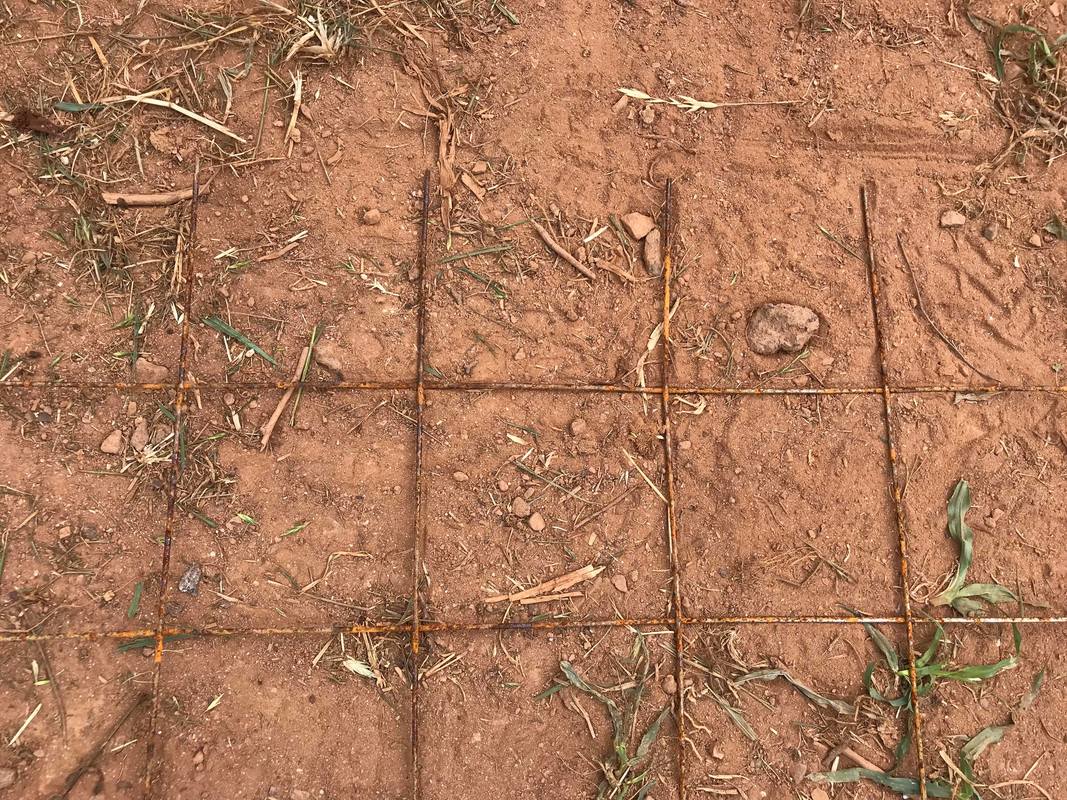 Step three: Decide how big around you want your cages. We decided that a 6 foot diameter was best for us but you determine for yourself what size works in your beds. Cut to length. No need to get out your tape measure. Remember when I said each square is 6 inches. We just counted 12 squares for a 6 foot section and and snipped it. 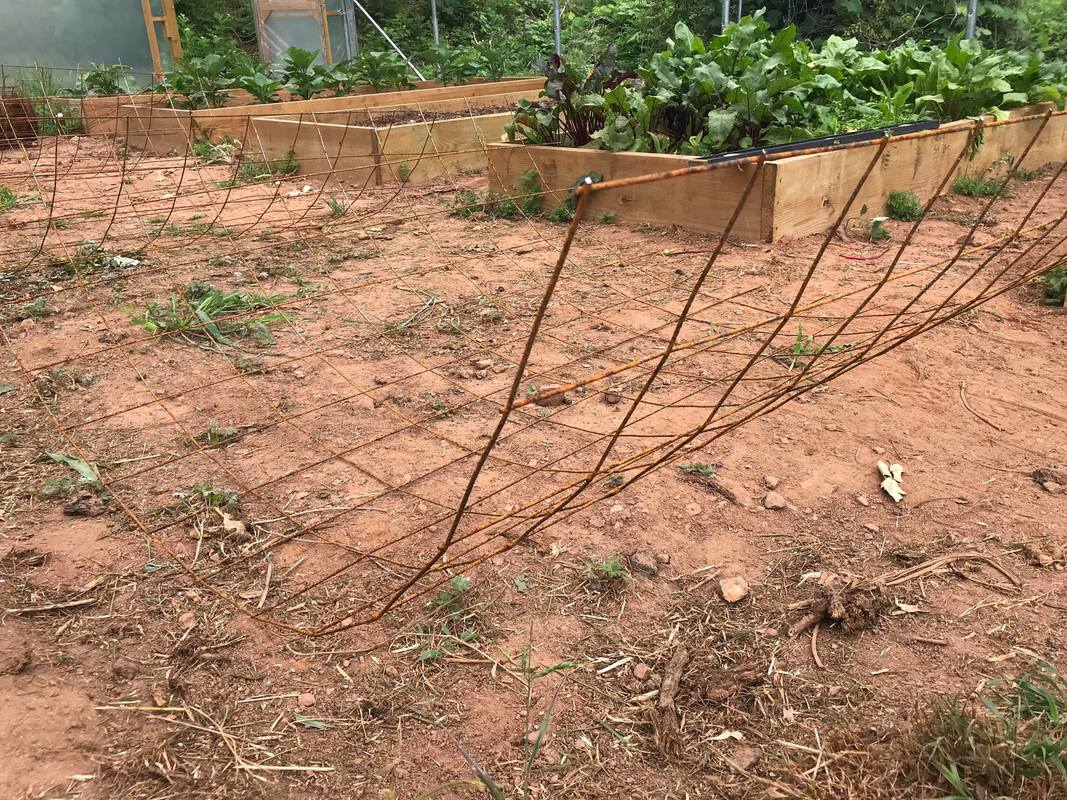 Step four: And this is the tricky part. After some trial and error, Farmer Vasek figured out a quick way to get it connected. I would recommend using gloves but he doesn't always listen to my recommendations. You wrap the pronged end around the straight side two or three times then bend it around the cross wire until it takes the shape. Move it under the cross wire. Confused? Watch the video below! Step five: Place pronged end down around tomato plants or other vining plant. You can stake it more solidly in the ground with a t-post or rebar if you'd like or tie them together if they are placed close enough. Here's ours in our 4' by 10' beds. 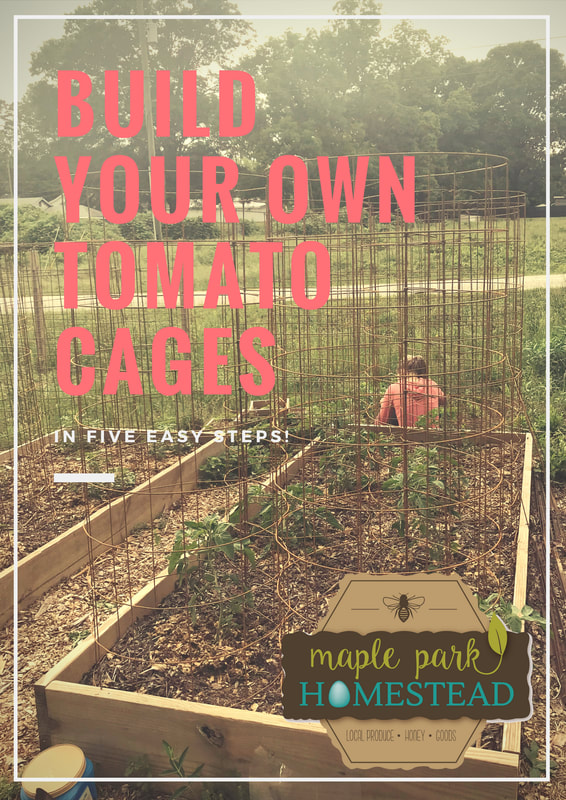 We will use what I call tomato tape to tie the branches up as it grows. We will also pull of the suckers to encourage the plant to put energy into the tomatoes and not building more branches. I'm sure this will make your summer season far more productive.
Dedicated to fur, feathers, greens, and wings,
0 Comments
When mapping out this summer's plan, I ran across this image. It was taken in July of 2013 according to Google Maps. I often tell people that our "jungle gym" tree that has the bench around it was so covered with kudzu that we didn't know what kind of tree it was when we bought the property. And it was also much smaller five years ago. The property was so overgrown, we had no idea what we would find under there. And we have found a ton of odd things since buying it.

I was recently dreaming of where we will go from here. Farmers are often called the biggest dreamers. We put tiny specks of seeds in the ground hoping that it will feed us for the next year. In our case, we are looking to the future and what we want our farm and family to look like in the next three, five, and ten years.
Those tiny seeds seem to take forever to break the surface as a cotyledon and then an eternity until that small plant bears fruit. Our farming dream is very similar. It took years for us to decide we needed more space. And since purchasing these two acres, in many ways it's felt like forever to transform it from an unruly kudzu patch to a fruitful garden and orchard. In the past twenty-four months, we have mowed, hoed, and mulched our way to a functionally garden. We are no where near finished with what we want to accomplish on our homestead. He hope to double our raised beds this summer and erect a pole barn and makeshift farm stand. We also want to increase the area we call the experimental garden and see what all we can get to grow there. We currently have potatoes planted there to break the soil up. We've been dutifully digging up raspberry starts to increase our berry patch. We want a greenhouse to start our own seedlings and I would love to have a gazebo or pergola to have special events at our farm. And I secretly wish to host families looking to create a sustainable homestead themselves on our farm as a teaching farm. Like I said, farmers are by their very nature dreamers and our dream is just beginning. We could never do all of this without the love and support of our family and friends. Thank you for all for walking with us on this journey. To quote The Grateful Dead,
With dreams of ripe tomato sandwiches,
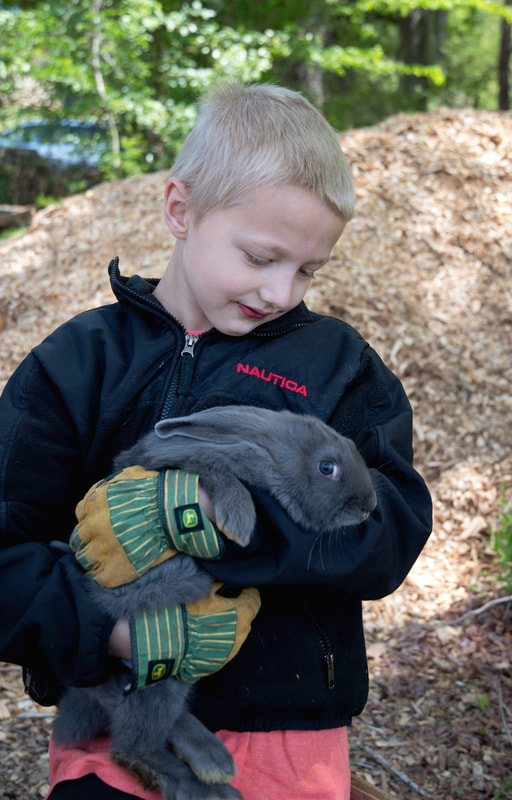
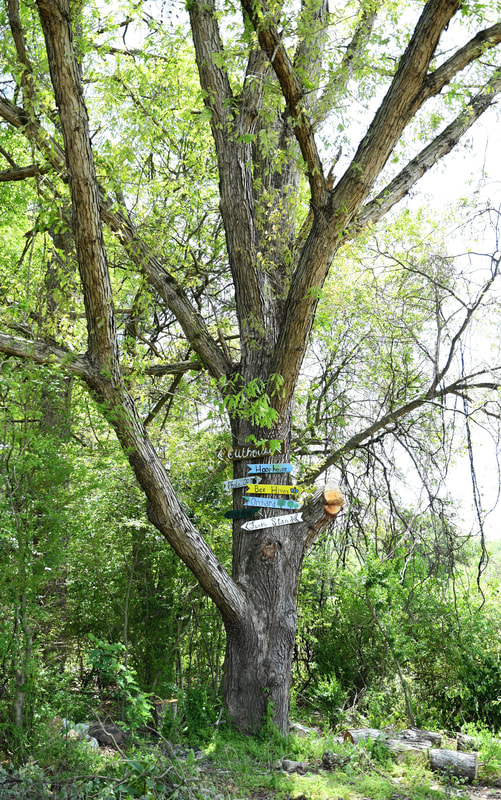
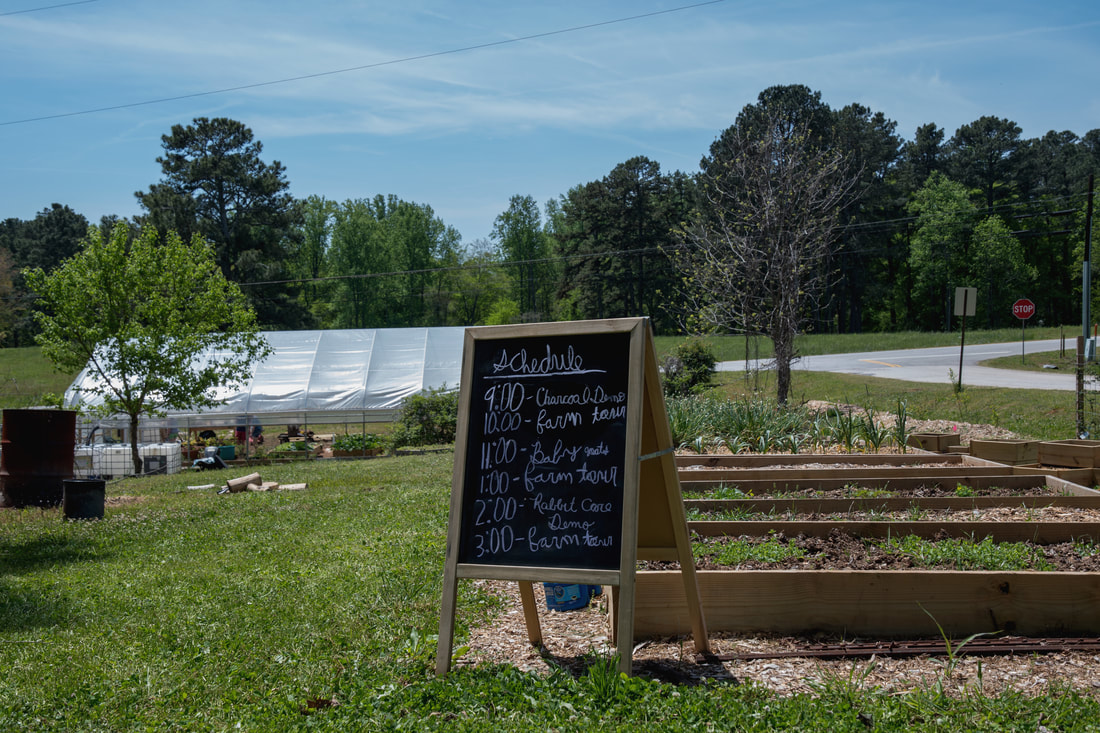
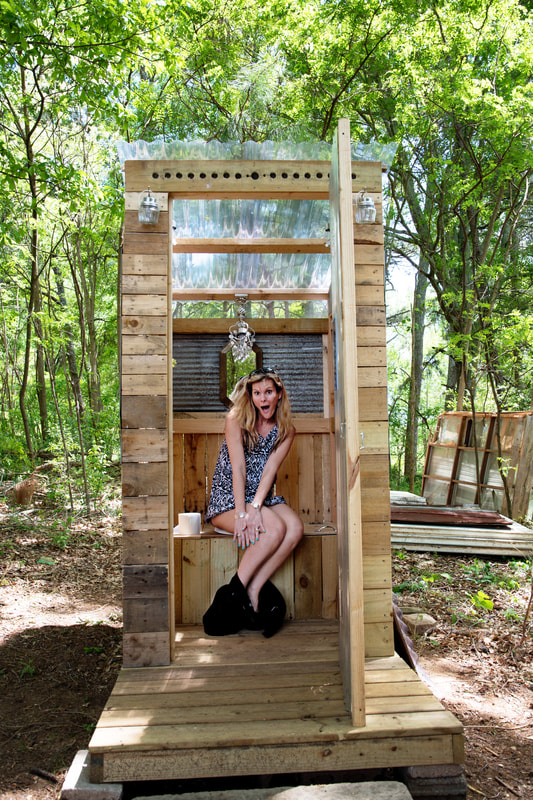
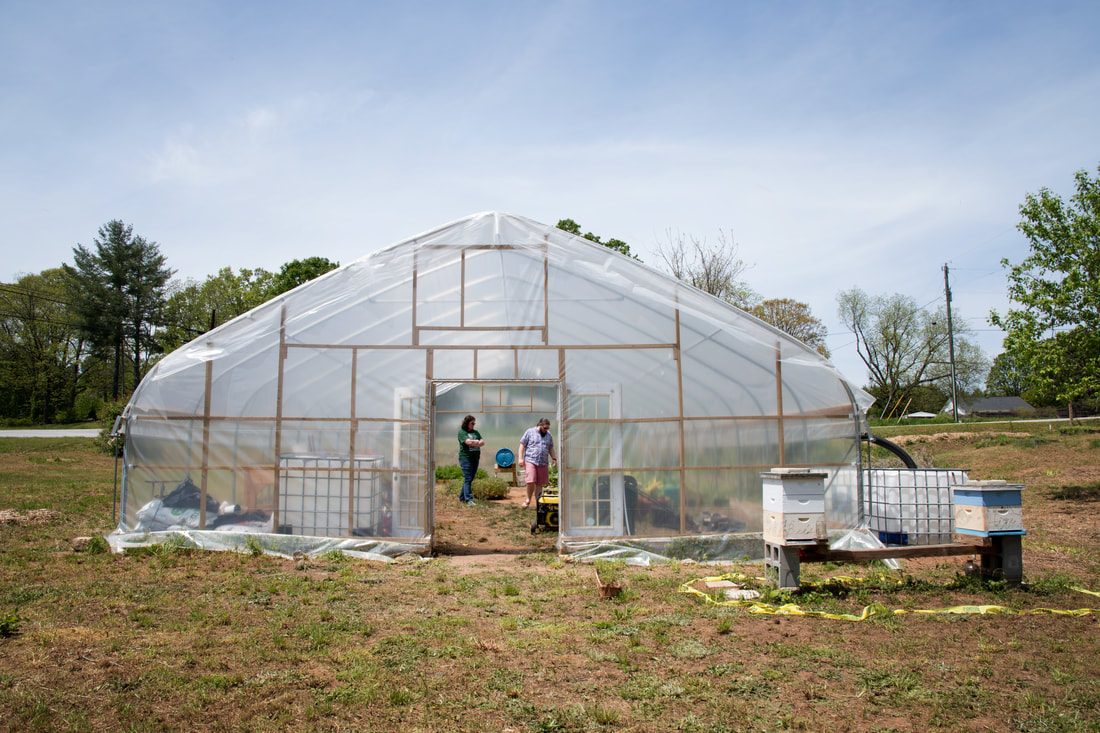
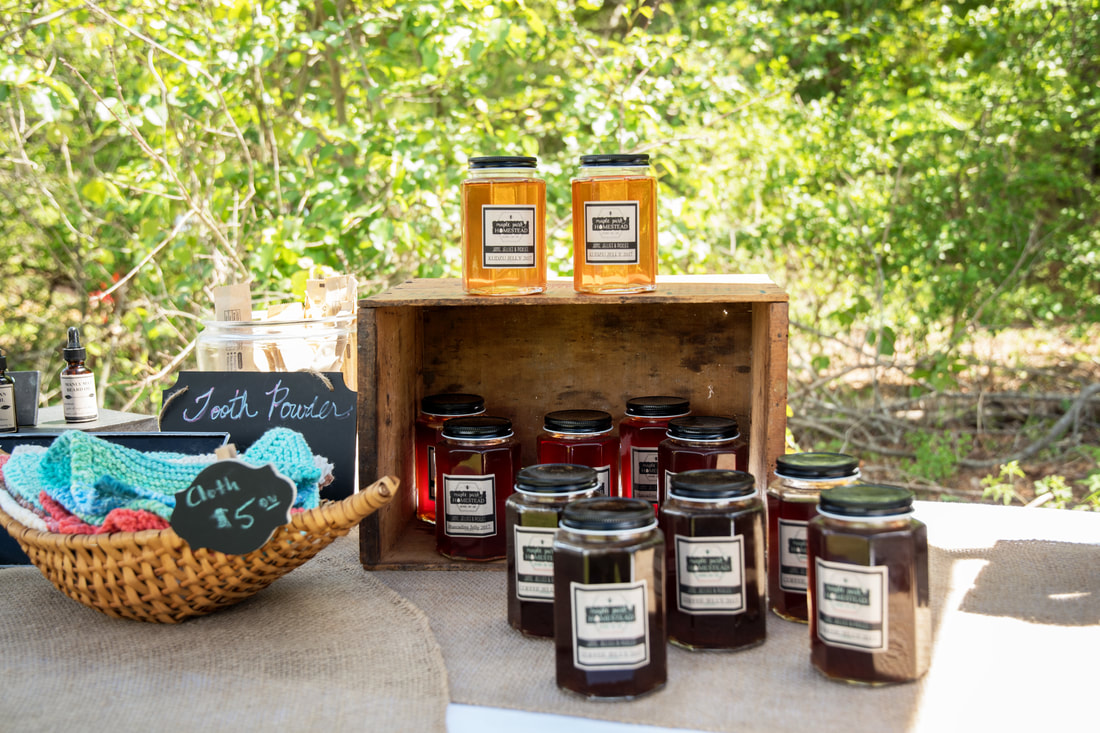
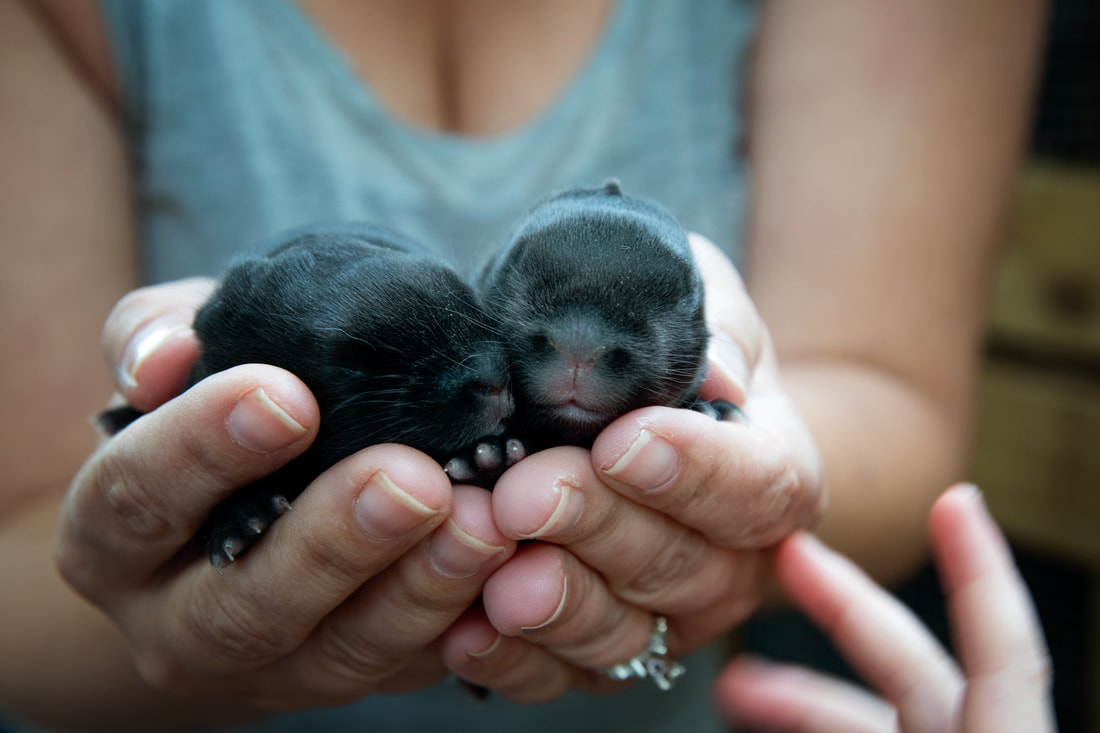
Brooke and Vasek April was a blur! We went from Sheep to Shawl to the Statham Homestead Trail with little time to do much else. Many of you came out to support us on this new adventure. For those that couldn't come out that weekend, I thought I'd share a little about the event and how it turned out. The idea was from the brilliant mind of Cyndi Ball from Lazy B Farm. We met last fall with several other farms in the area to discuss the possibility of having our farms open to the public. Over half the farmers were fairly new (less than four years) to farming, all women and active in Ladies Homestead Gathering. After lots of ideas were thrown around, we set a date and some guidelines and all got to work. Our farm being one of the newest kids on the block, we had a ton to do. We just put in our hoop house but had no raised beds planted. We got to work on that immediately. We also had other projects to complete before the big weekend. We had to get a picnic area cleared, parking places marked, and some sort of restroom facility to a piece of property with no water connection. That's when the idea of an outhouse workshop emerged. You can learn more here. We also wanted to have all of our summer crops in the ground. Mother Nature had other ideas with lows in the thirties three days that week. Sometimes, you just have to go with what you got. As April approached, we were busy making soaps, deodorants, and other goodies to sell at our farm stand. We painted signs to highlight different offerings on the farm and moved mountains of mulch. Fresh mulch makes everything look better. The sun rose on Saturday and brought with it glorious spring weather. We had a charcoal demo led by Vasek first thing to warm everyone up. I led a farm tour after that. We brought out our four baby goats...the highlight of the day! They let everyone hold them and made for great photo ops. Another farm tour and rabbit care demo led by Lydie rounded out the afternoon. My dear friend Trish Johnson brought her girls and her fancy camera and got some great shots of the farm. Those are the ones you're seeing in this post but there are tons more we will use in the future.
We were overwhelmed by the turn out. So many of friends and family came to see us. We met a ton of new friends and heard all about how others were looking for sustainable options for local food. And despite a slight sunburn, the day was an amazing success. I wish I could say that Sunday was equally brilliant but it just wasn't. The mist started mid-morning which turned into a downpour by lunch. Even with the rain, we had about forty people come to see us and take tours that were mostly under the cover of the hoop house. Overall, the weekend far exceeded our expectations. We are already planning the November Statham Homestead Trail where we hope to offer local artisan crafts and your gathering foods just in time for the holidays. Mark your calendars now so you don't miss out! |
Vasek and BrookeWe are thrilled to share our homesteading successes and struggles with you. There's a steep learning curve here and we are ready for the challenges. Archives
April 2019
Categories |


 RSS Feed
